Charcuterie with Anika: simplifying the art of gathering together
WRITTEN BY: ANIKA HORN | PILLAR OF FAMILY | ISSUE 08
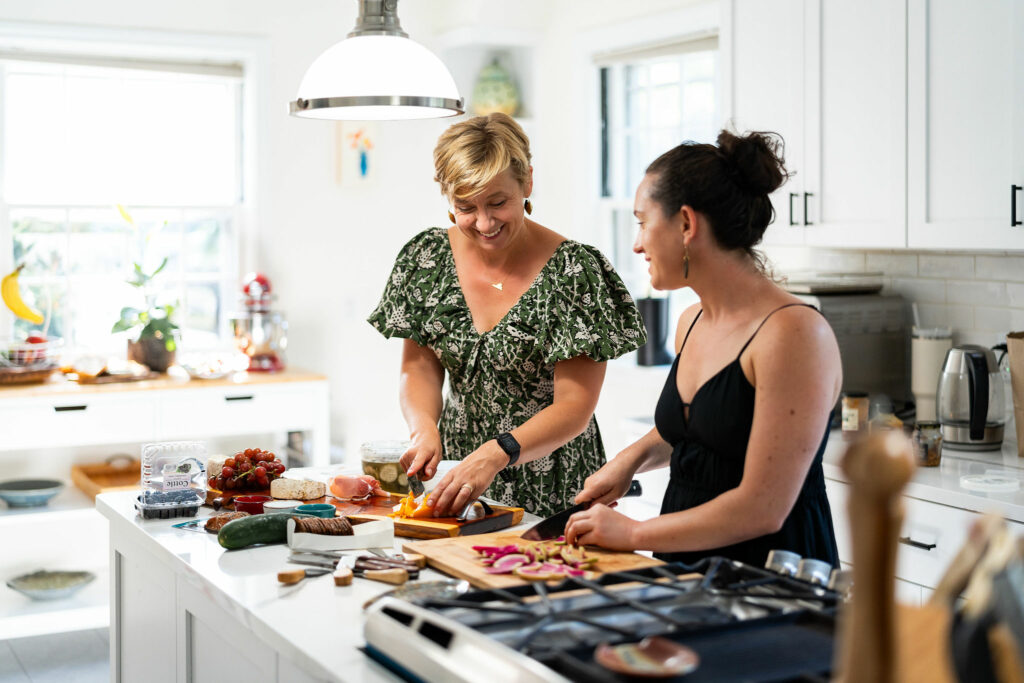
At my house, every Friday night is board night. Even my five year-old knows that when she comes home from her last day at school, we will likely have friends over, music will be playing from the speaker and her parents will pull from the fridge whatever is left from the work week.
Making a charcuterie and/or cheese board has many perks. A board night can feed any amount of people. When it’s just the three of us, we pull out the smallest board. When it’s twelve, I have a selection of boards and platters that come into play. It accommodates different allergies, intolerances and preferences: Gluten Free. Vegetarian. Vegan. Full carnivore. Lactose intolerant. You can even separate and arrange different bites so that they don’t touch (in case of severe allergies) – it caters to most tastes.
It makes it easy to eat seasonally. In spring and summer, your board may feature sun-ripened stone fruit, chilled watermelon and bright red radishes. In the winter, I’m likely to replace fresh produce with cinnamon-roasted pumpkin, creamy potato salad or dill pickles (though pickles are always a good idea!). It also can be as simple or elaborate as you like. The internet is full of inspiration for how to make a charcuterie board: you’ll find tutorials for how to shape your salami like roses and how to create the “overflowing look.” In my house, I typically pull out of the fridge what we have, add a few fresh ingredients (more below), and arrange them into a board that looks appetizing. Disclaimer: I still don’t know how to shape my salami slices into roses!
“This family-style meal on a Friday night has gathered lots of friends around our dinner table.”
– anika horn
Here are five easy steps to get you started making your own charcuterie board:
Step 1: Cheese
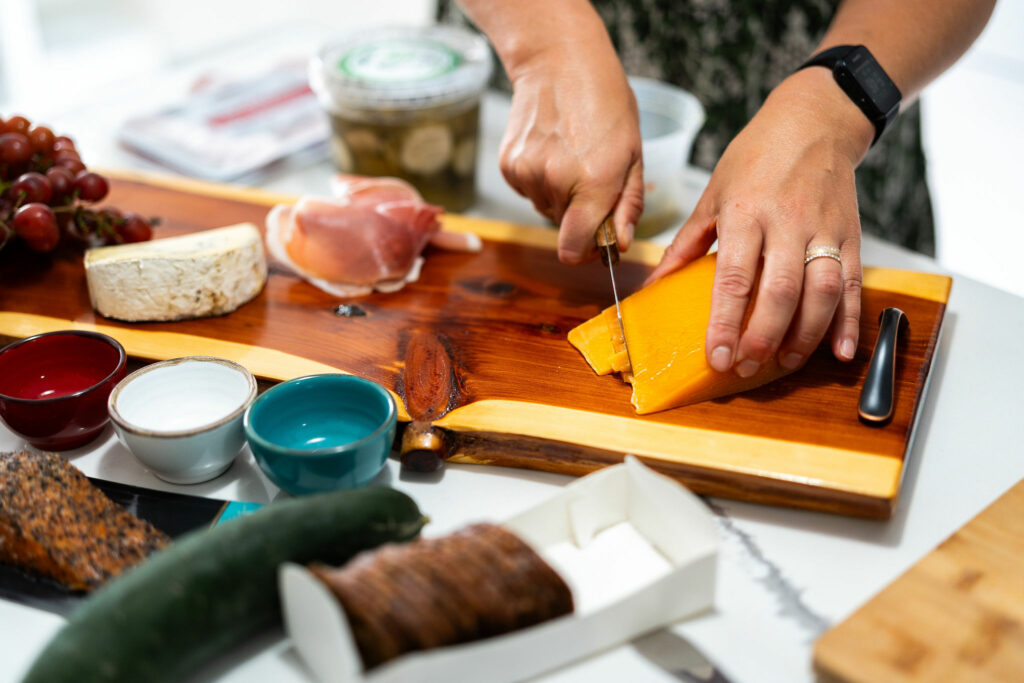
Variety wins. I like to pick a hard cheese, a soft one and a stinky one. If you don’t know where to start, here’s a rule of thumb: One blue cheese (Humboldt Fog, gorgonzola), one goat cheese (creamy variety or – my personal favorite – Boucheron), and a hard cheese (cheddar, manchego, taleggio). If you’re not feeling too adventurous at first, start with what you know you like. As a Staunton-local cheese lover, I typically get my cheese from local shops such as Ballerino creamery or Yelping Dog. They let you taste cheeses before you buy and they sprinkle in a little cheese knowledge to help you make your choice.
Tip: Take your cheese out of the fridge in the afternoon or as soon as you get home so it has time to soften and unfold its full aroma.
Step 2: Meat
During the warmer months, we might grill sausages, steak, shrimp skewers or scallops and add them to the board right before serving. On a no-fuss night, I’ll add some prosciutto di parma and salami piled in a little heap or laid out in a fan. Smoked fish can be a great addition to add more protein, texture and flavor to your board.
Tip: When I serve meat, I always add a dollop of grainy mustard which goes really well with deli meats.
Step 3: Bread
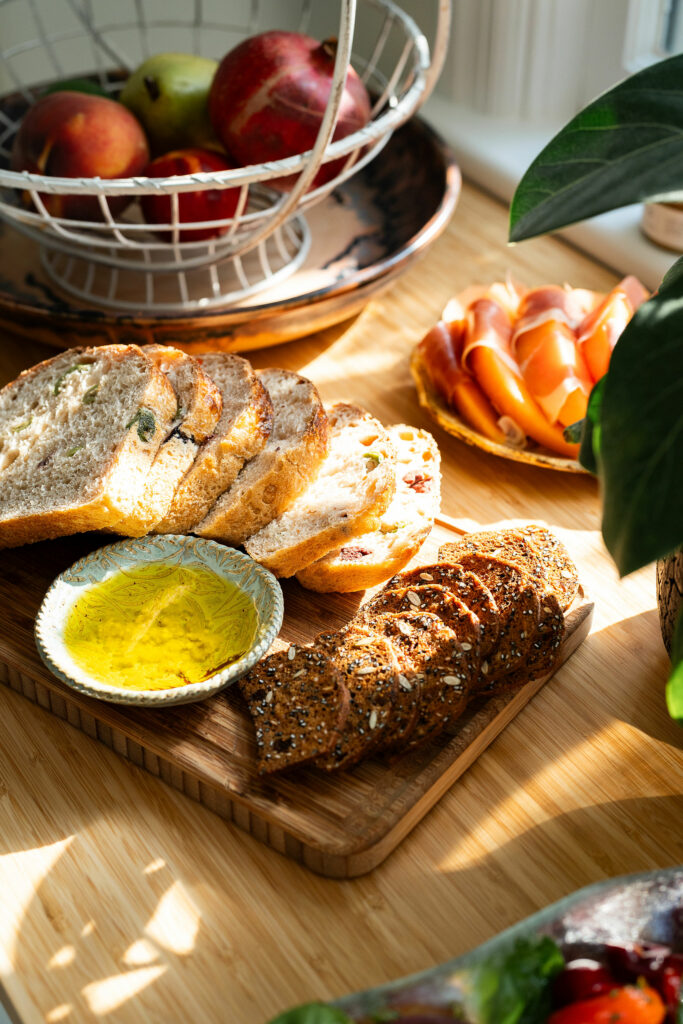
To me, nothing beats a fresh loaf of sourdough bread served with butter or dipped in olive oil. Baguette works, too. Personally, I like soft bread to sop up sauces, dips and oils to clean my plate at the end. If you don’t have fresh bread or prefer crunch, crackers work, too. I tend to serve both (and finish any bag of left-over pretzel chips or pita chips). If you worry your board looks a little sparse, bread and crackers will take up space and fill in gaps. If you’re already running out of space, serve bread in a separate bowl.
Tip: If you have gluten free guests, grab some gluten free bread or crackers, or make sure you offer some other filling “vehicle” for your board bites.
Step 4: Fruits and Veggies
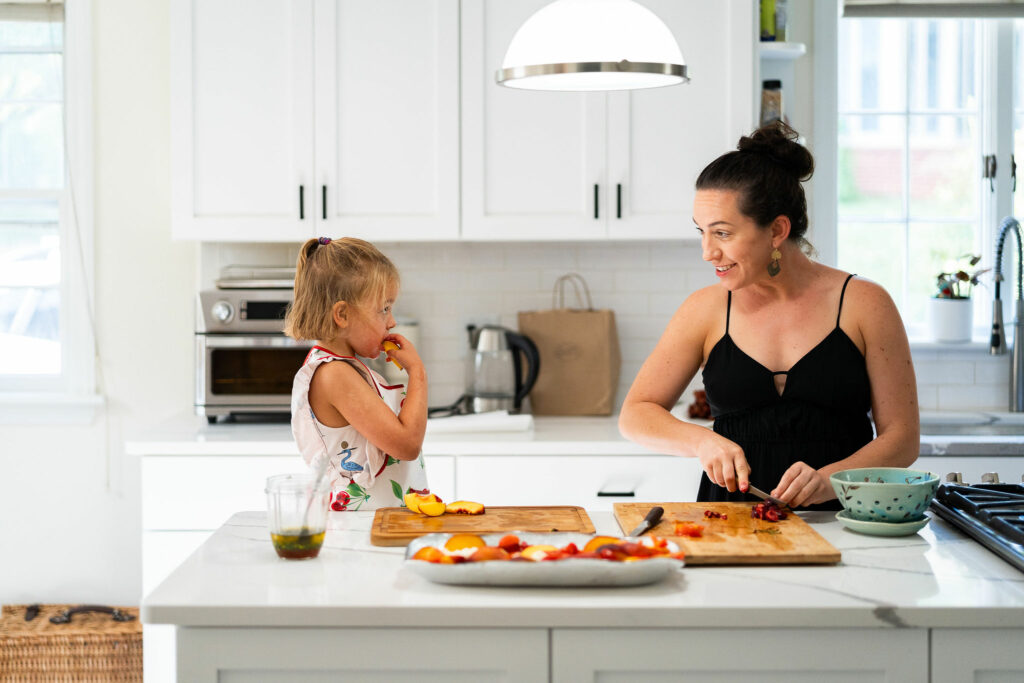
Some fresh fruit and vegetables bring your board to life. Depending on what’s in season, you can serve fruit like juicy plums, tart cherries, ripe grapes or sweet berries. A personal favorite of mine is goat cheese with sliced pear. Fresh figs, star fruit and watermelon are a treat if you’re feeling adventurous. In a pinch, dried figs, a sliced apple and dried soft cranberries work, too. Something I always have in the fridge are pickles – I am German after all.
Tip: When arranging my board, I look for color contrasts: Place some red fruit next to your cheese. Place some green/black olives or yellow mustard between your meats. The more contrast, the more lively and appetizing your board will look.
Step 5: Accouterments
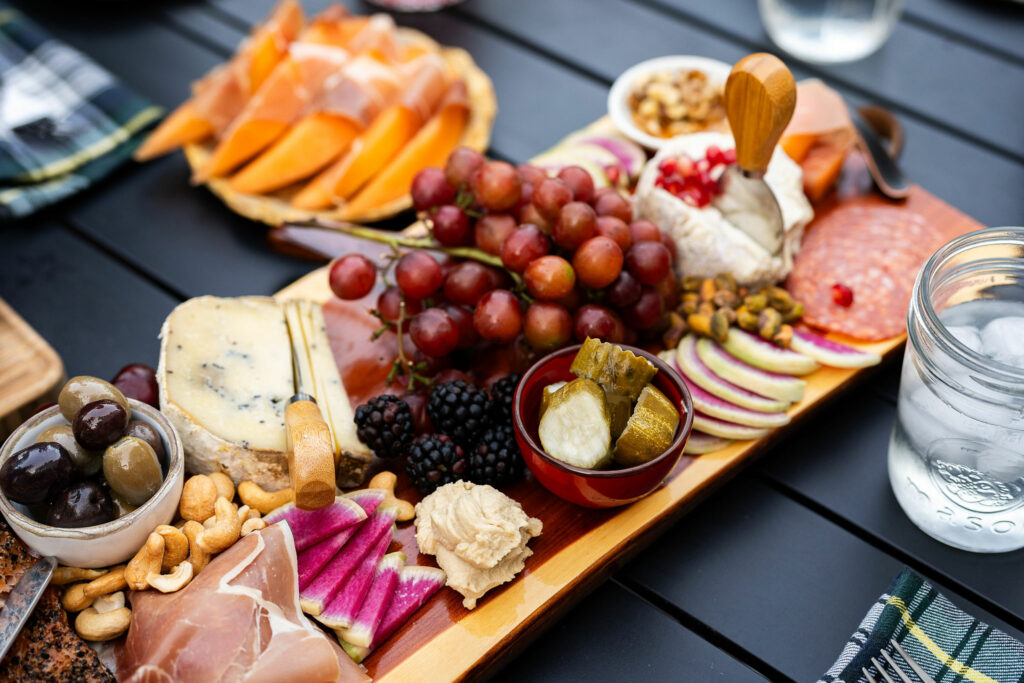
Once you’ve laid out your cheese, meat, bread and fruit and vegetables, all that’s left is to fill in the gaps with little treats. When I take the cheese out of the fridge in the afternoon, I pour some olive oil in a small dish and add some freshly minced garlic to infuse the oil. Add some savory nuts, jelly (quince is nice, or anything that typically lands on your toast in the morning), tapenade, mustard (if you haven’t already), olives and pickles. If you have any dips (guacamole, hummus etc.), make space for a small bowl in between your crackers or serve separately.
Tip: Once you’re done, step back and look at your board. Are any colors missing? Are there any big gaps that you want to fill in? Don’t forget to add serving tools such as little cheese knives and spoons.
This family-style meal on a Friday night has gathered lots of friends around our dinner table. It gives us a chance to catch up on the week without a formal seating arrangement and the stress that comes with serving a group-size hot dinner. Some Fridays, the first thing I do is to set out a little fruit plate (especially when we kids arrive) and small bowls of nuts, crackers, dips and olives so that people can start nibbling as soon as they arrive (they worked all day, too, after all!). Rather than duplicating efforts, these small bowls easily get refilled and transition onto the board once it’s time.
Offering small bites invites people to graze and has convinced more than one little one to try something they’ve never had before. I hope your first Friday board night is a success!
List of local purveyors:


